Group Chat
Weline Pro IM supports creating group chats with multiple contacts, making it convenient for small teams to communicate and share information.
Create a Group Chat
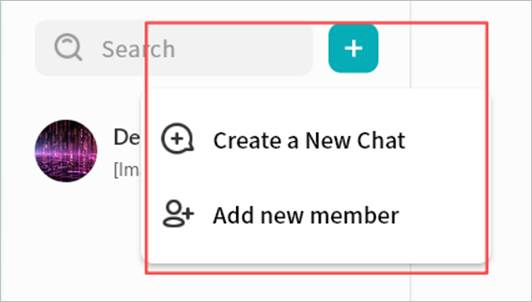
- Click + > New Conversation, or use the New Conversation button.
- In the contact selection window, select multiple contacts.
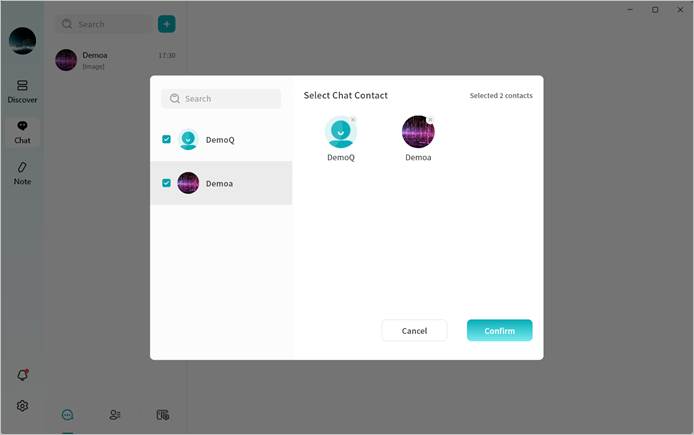
- Click Confirm to create the group chat.
Manage Group Members
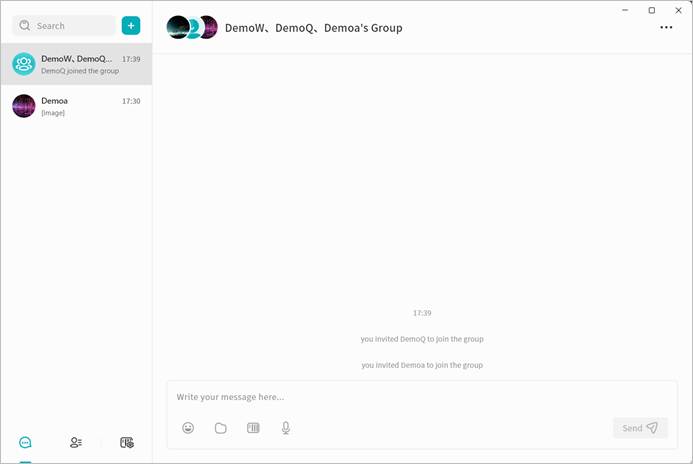
You can manage group members at any time, including viewing, adding, or removing participants.
- In the group chat window, click the ... menu in the top-right corner.
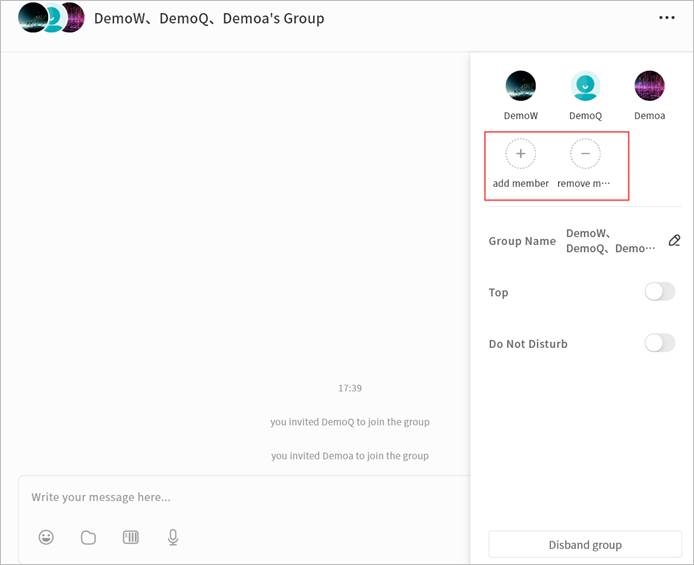
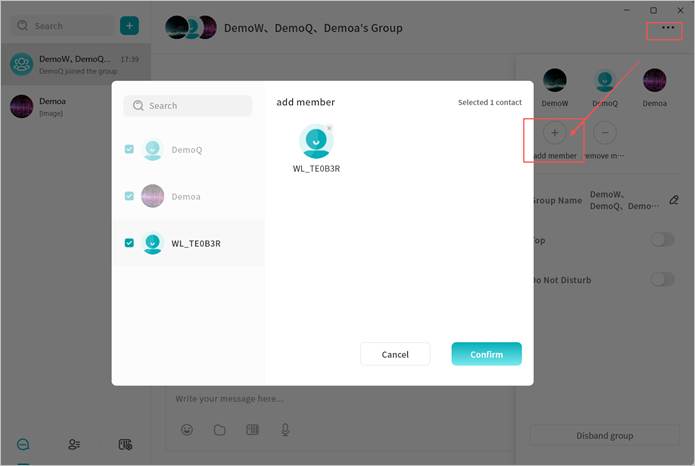
- Select Add Member to invite additional contacts connected to the same chat server.
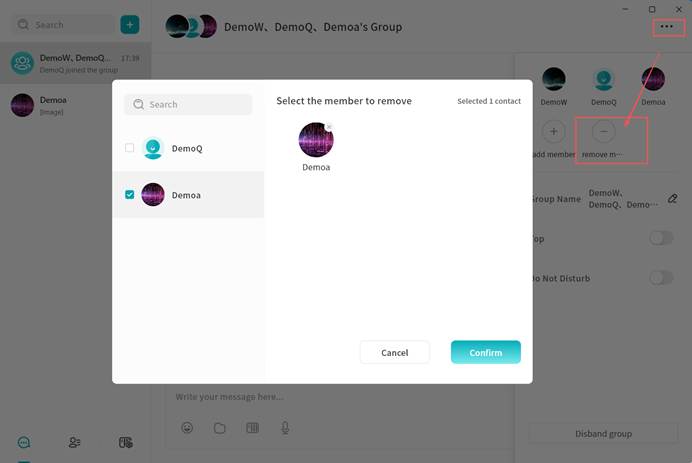
- Select Remove Member to remove a participant from the group.
Note: Only the group creator can remove members.
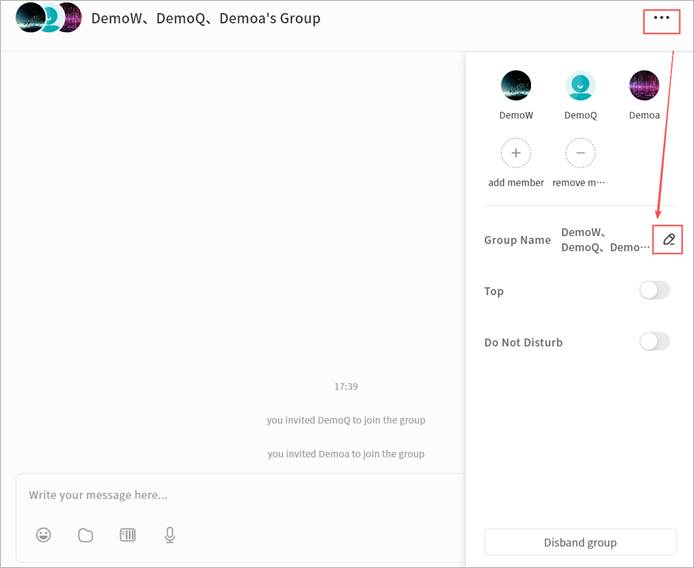
Change Group Name
The group creator can rename the group for easier identification. Click the edit icon next to the group name to enter a new name.
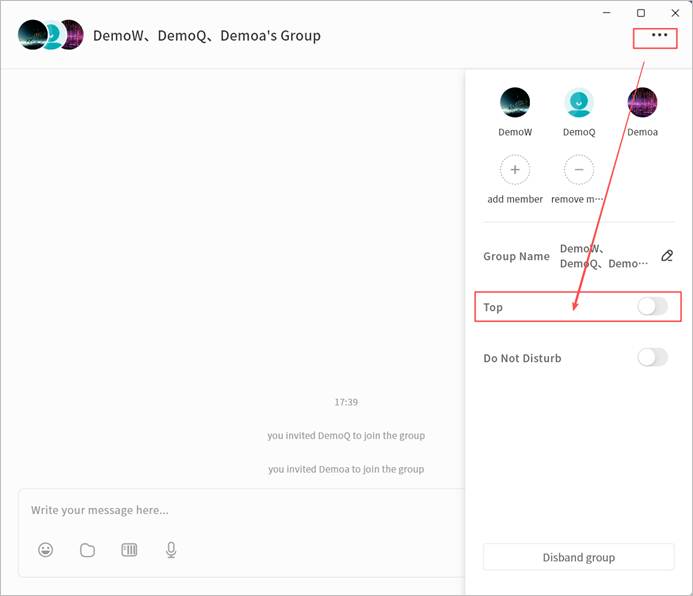
Pin Group Chat
Enable Top to keep the group chat at the top of the chat list.
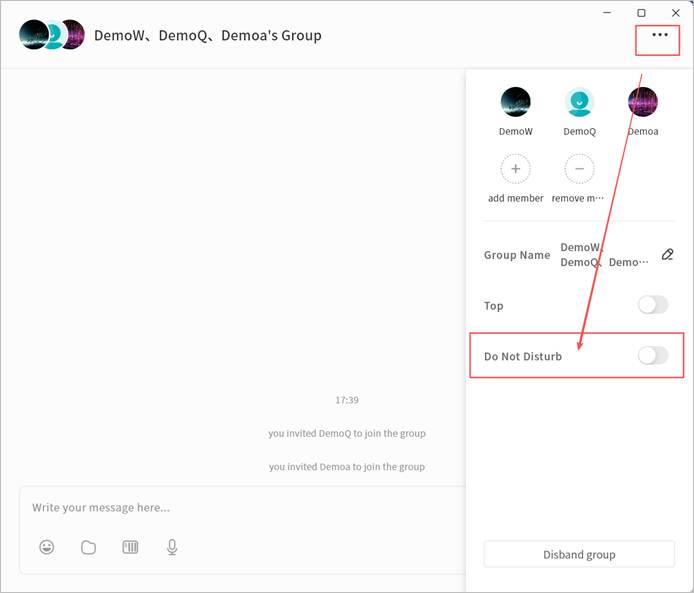
Mute Notifications
Enable Do not Disturb to stop receiving alerts for new messages in the group.
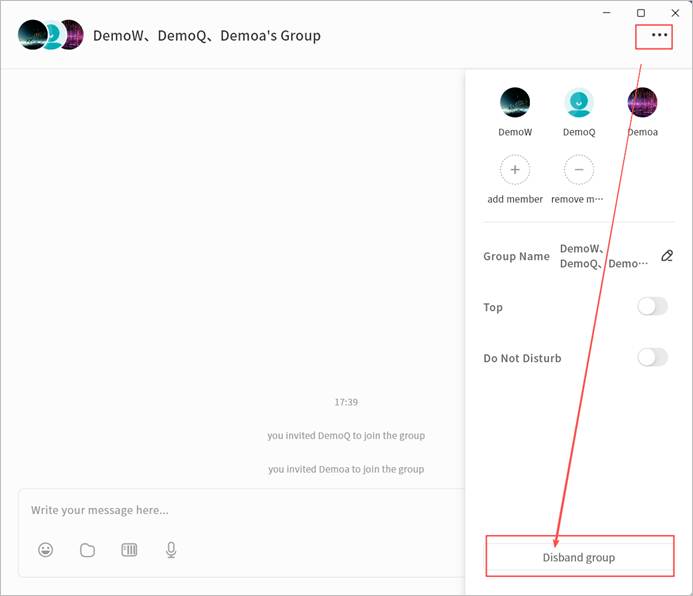
Disband Group
The group creator can disband the group:
- In the group chat window, click the ... menu > Disband Group.
- Click Confirm to delete the group.
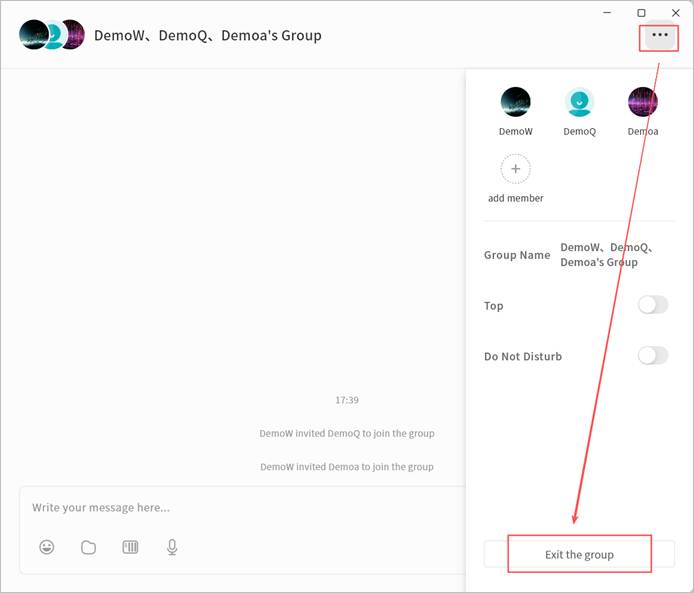
Leave Group
Any group member can exit the group at any time:
- In the group chat window, click the ... menu > Exit the Group.
- After leaving, you will no longer receive messages from that group.
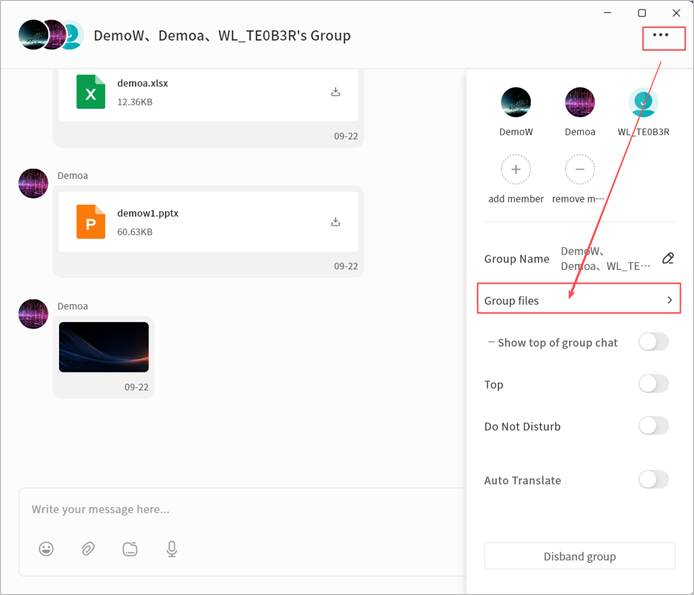
Group Files
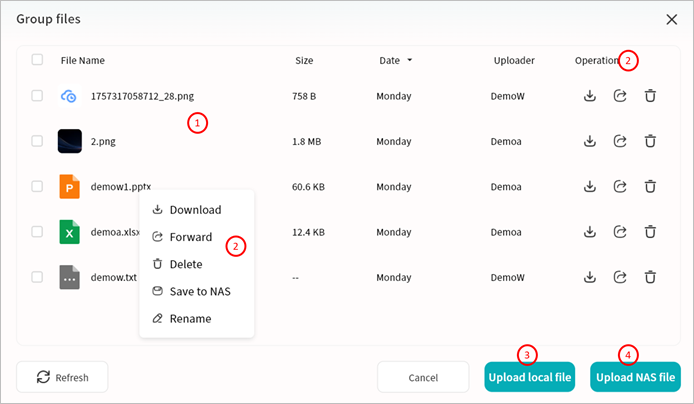
Files shared in a group chat can be centrally managed through the Group Files feature.
Click … > Group Files to view all files sent within the group chat.
In Group Files, you can:
① View File List: Includes file name, size, upload date, uploader, and available actions.
② File Operations:
- Download (all members): Save the file to the local device.
- Forward (all members): Forward the file to another chat session.
- Delete (group owner and uploader only): Only the group creator or the original uploader can delete files from Group Files.
- Save To (all members): Save the file to your personal NAS space associated with IM.
- Rename (group owner only): Change the file name.
③ Upload Local File: Select files from your local device to upload into Group Files. Note: After uploading, a file message will automatically be sent to the group chat.
④ Upload NAS File: Select files from your NAS to upload into Group Files. Note: After uploading, a file message will automatically be sent to the group chat.