Lite NVR
The Weline Pro edge device supports cameras compatible with the Onvif protocol, enabling centralized management of cameras, storage of surveillance video, real-time and historical video viewing, and PTZ (pan-tilt-zoom) control. You can securely view surveillance footage anytime, anywhere without the privacy risks associated with uploading video to the cloud.
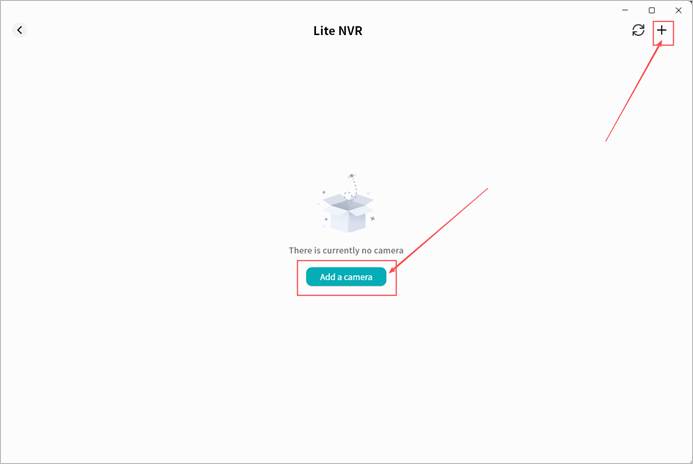
Add a Camera
- Click + to search for cameras on the same LAN as the Weline Pro device.
Note: Ensure the camera and Weline Pro device are connected to the same LAN, the camera supports Onvif, and the camera is powered on with network access.
- Wait for the search results. The process is usually quick.
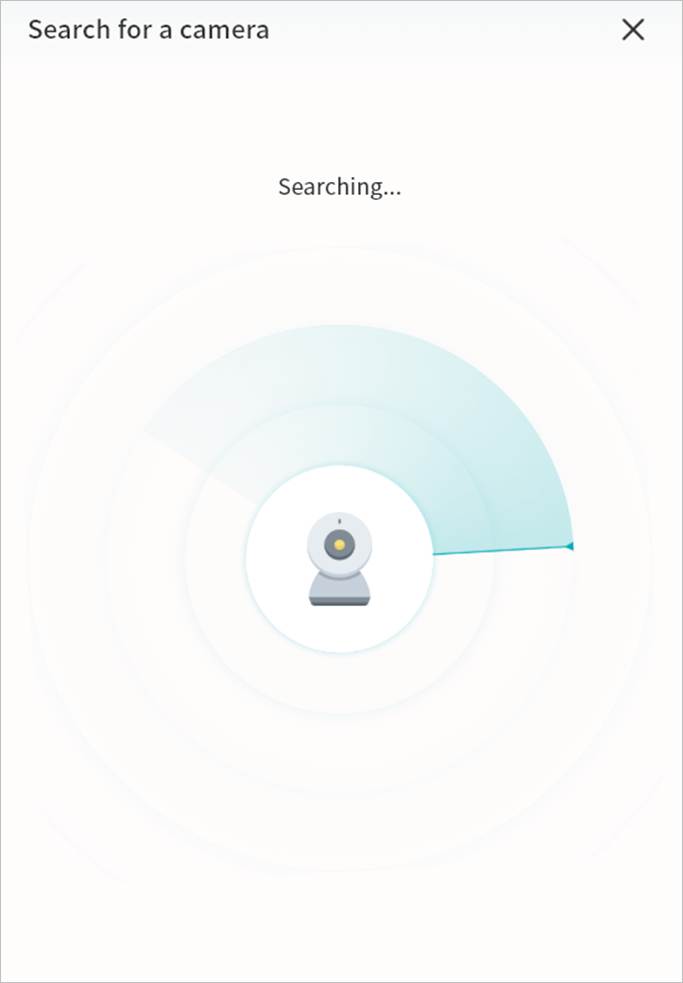
- Once discovered, the camera will appear in the results list.
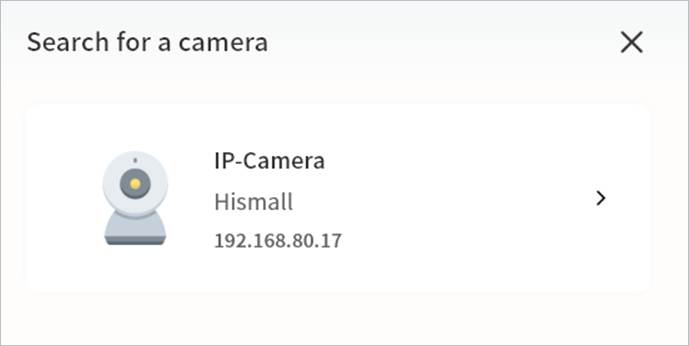
- Click the camera to open its configuration page. If authentication is required, enter the username and password of the camera (check the camera manual or contact the manufacturer if needed).
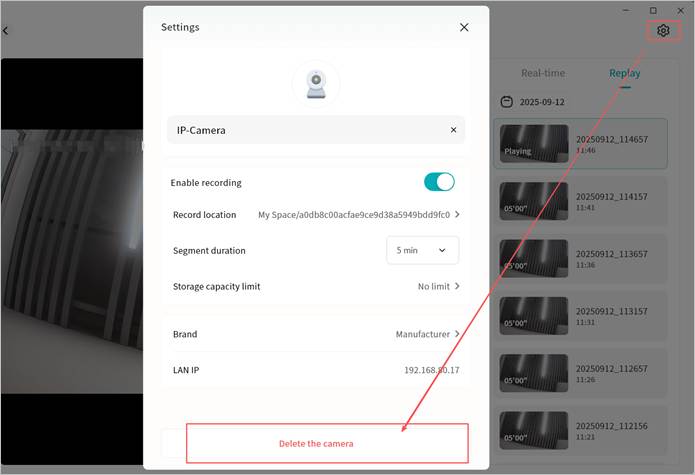
- On the add-camera page, configure the following settings:
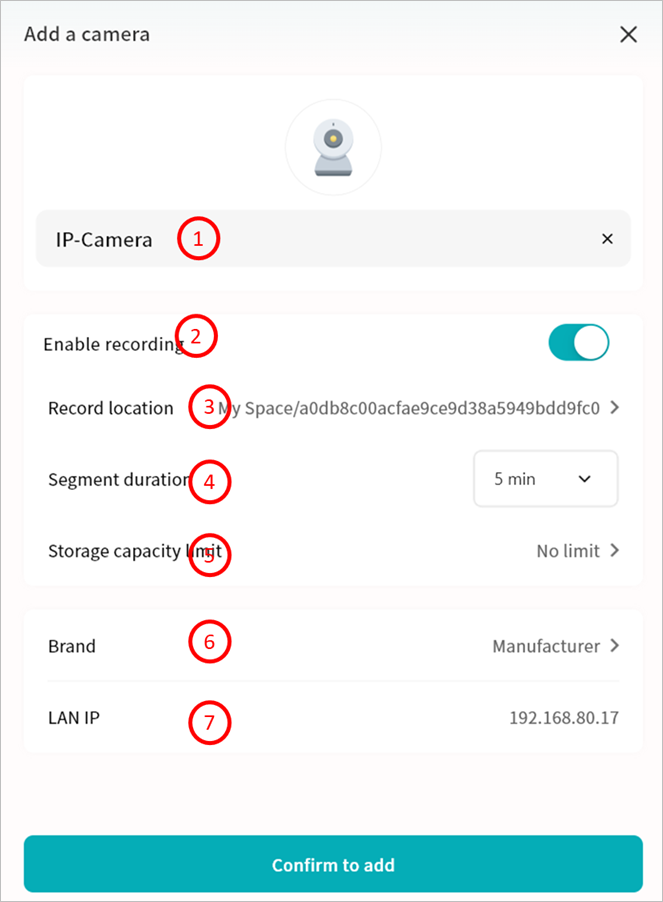
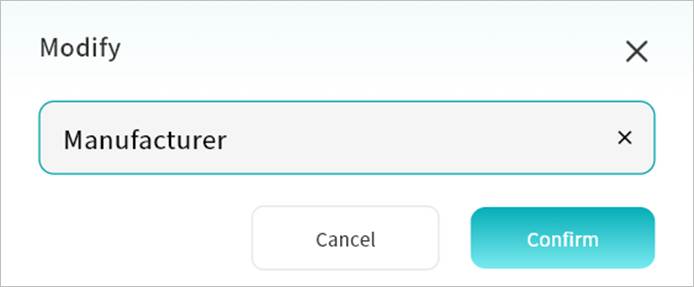
① Camera Name: Display name in the Video Monitor application.
② Enable recording: Enable recording to save camera footage to the Weline Pro device.
③ Record Location: Specify where video files will be saved. Recommendation: Unless the video needs to be shared with other Weline Pro members, save it in My Space or Group Space (accessible only by group members).
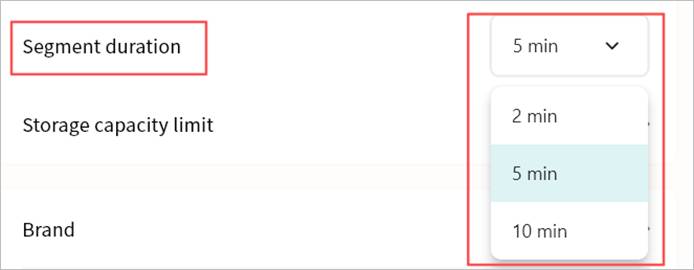
④ Segment Duration: Define the length of each video file. Weline Pro will split and save videos accordingly.
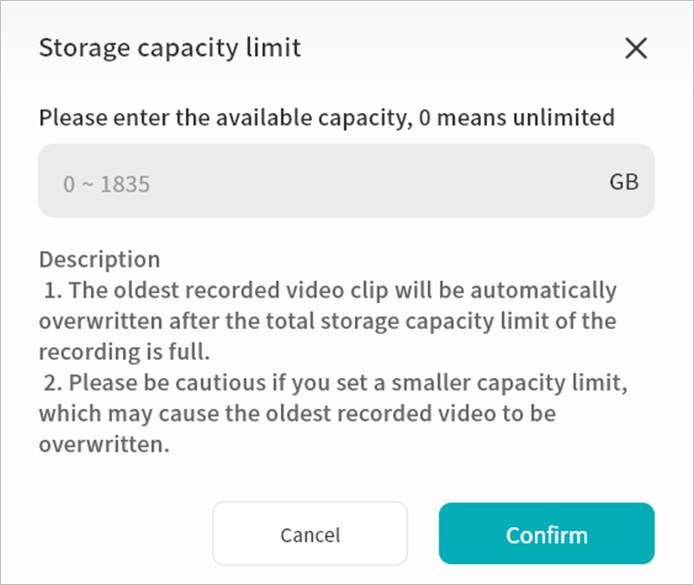
⑤ Storage Capacity Limit: Set a maximum storage capacity for video files. Once reached, older recordings will be overwritten to free space.
⑥ Brand: The system will auto-detect the brand via the Onvif protocol. You can manually correct this if necessary.
⑦ LAN IP: Displays the current LAN IP address of the camera.
- Click Confirm Add. The camera will now appear in the Video Monitor page.
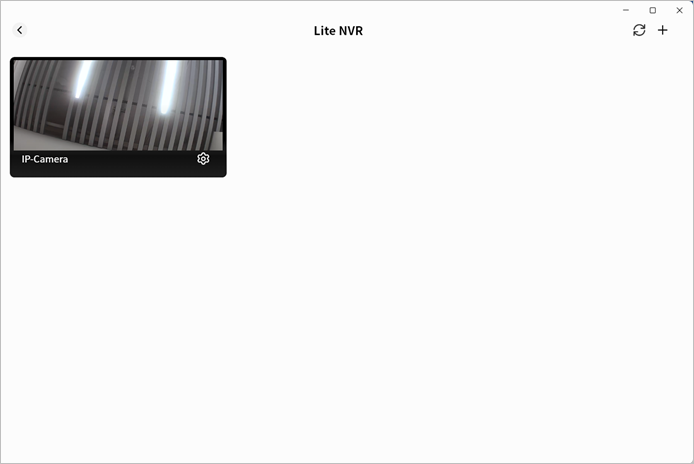
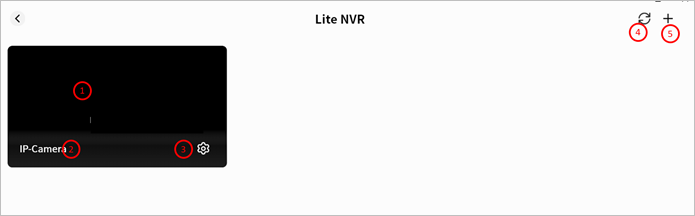
View Live Video
In the Video Monitor page, you can view connected cameras with a static preview, camera name, and timestamp. You can also edit or refresh the camera view.
① Camera preview and current time
② Camera name
③ Camera configuration (including delete option)
④ Refresh the current page
⑤ Add a new camera
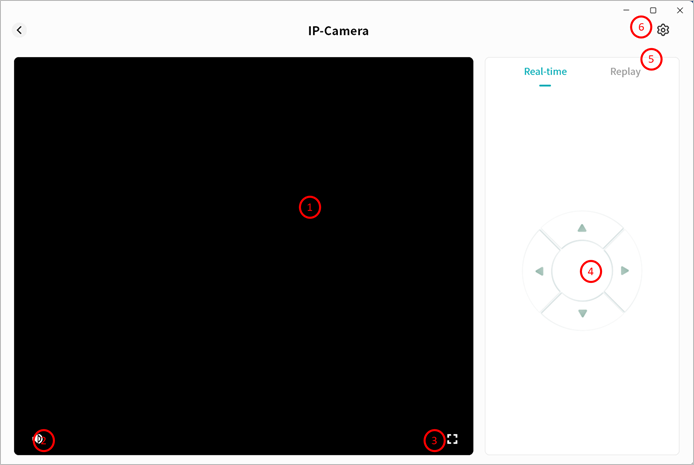
Camera Monitoring Operations
Click a camera preview to enter its monitoring interface. You can:
① View the live feed with timestamp
② Adjust audio volume
③ Switch to fullscreen
④ Use PTZ controls
⑤ View recorded playback
⑥ Edit camera settings (see Add Camera section)
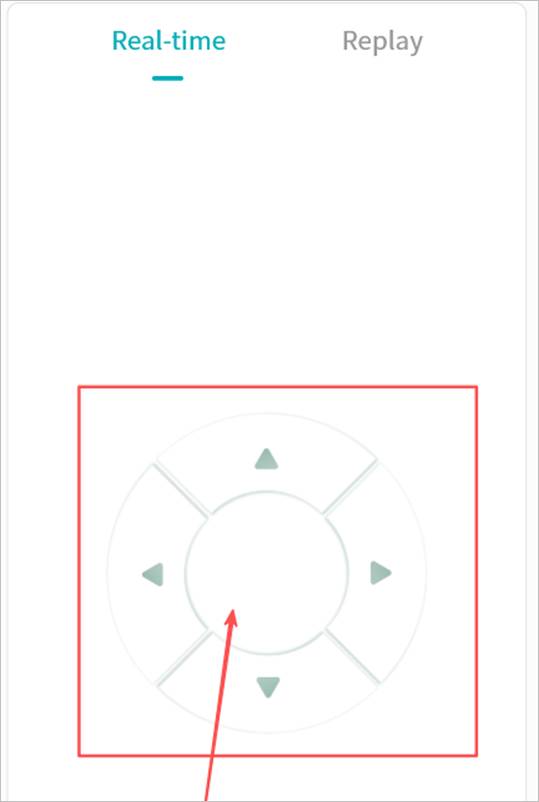
PTZ Control
Click the directional keys to adjust the camera angle.
If PTZ is not supported by your camera, a notification will be displayed.
View Playback
- In the monitoring interface, click Playback to view recorded videos stored on the Weline Pro device. Recordings are listed chronologically based on recording duration.

- Use the calendar to locate recordings from a specific date.
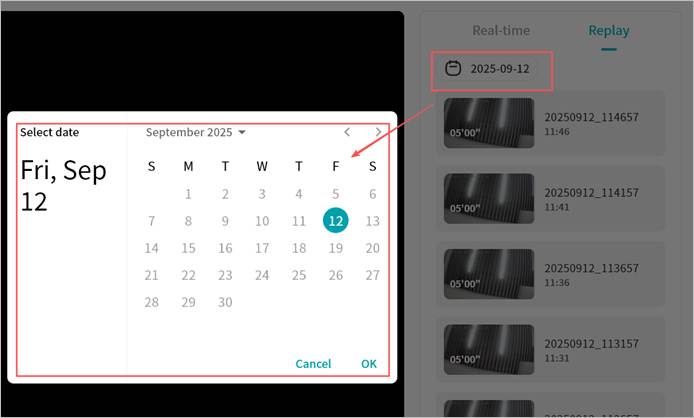
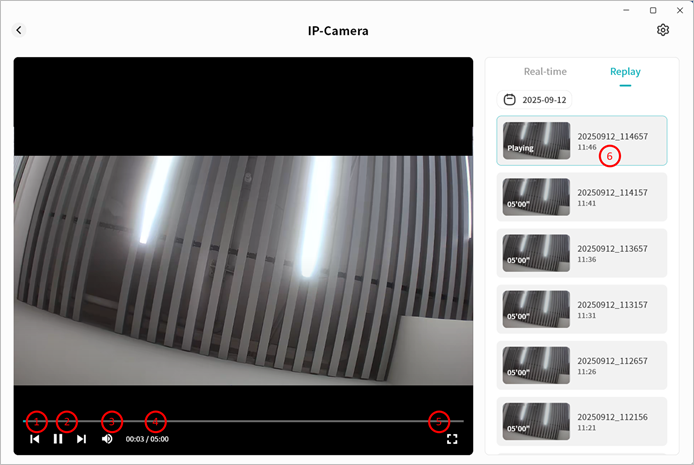
- Click a video segment to play it. Options include:
o Switch quickly between previous/next recordings
o Pause/Play
o Adjust audio volume
o Display video duration and current playback timestamp
o Fullscreen playback
o Show the file name of the current video
Delete a Camera
You can remove cameras from the Weline Pro device at any time.
- From the Video Monitor home page or monitoring interface, click the gear icon.
- Select Delete Camera to complete the removal.