Device Initialization
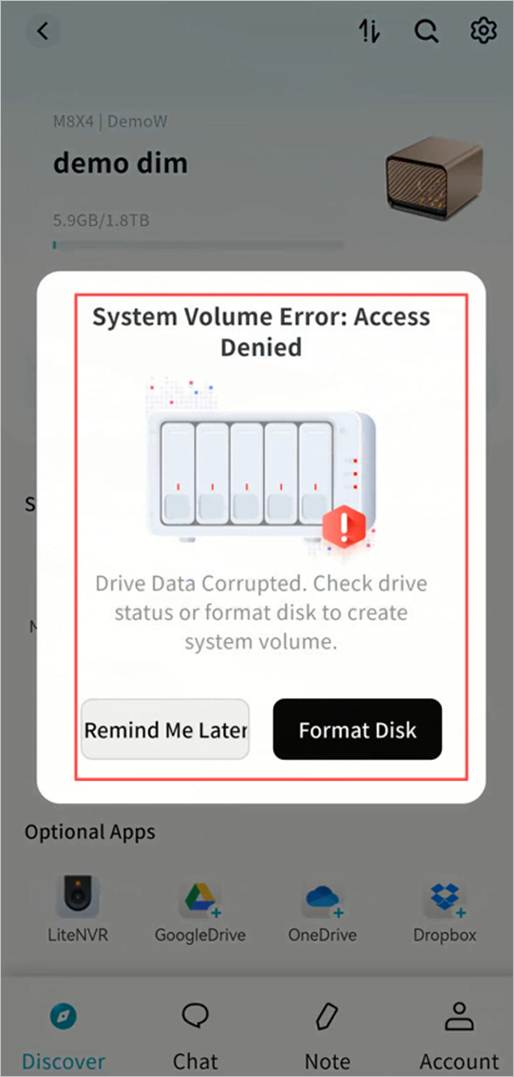
If you are binding a Weline Pro edge device for the first time, you need to use the Weline Pro mobile client to scan the QR code on the device to complete binding. After binding, when you enter the device for the first time, you will be prompted to format the hard drive:
- Insert the hard drive into your Weline Pro edge device.
- From the Device List, click your device to enter.
- A format prompt will appear. Click Confirm.
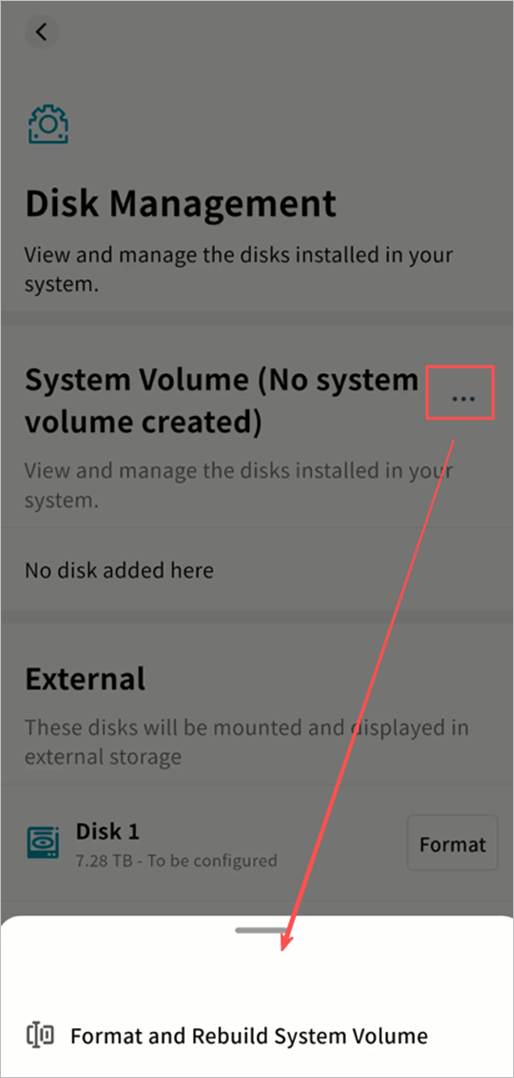
- The Weline Pro client will navigate to SET UP > Disk Management. Click the ... menu next to the system volume and select Format and Rebuild System Volume.
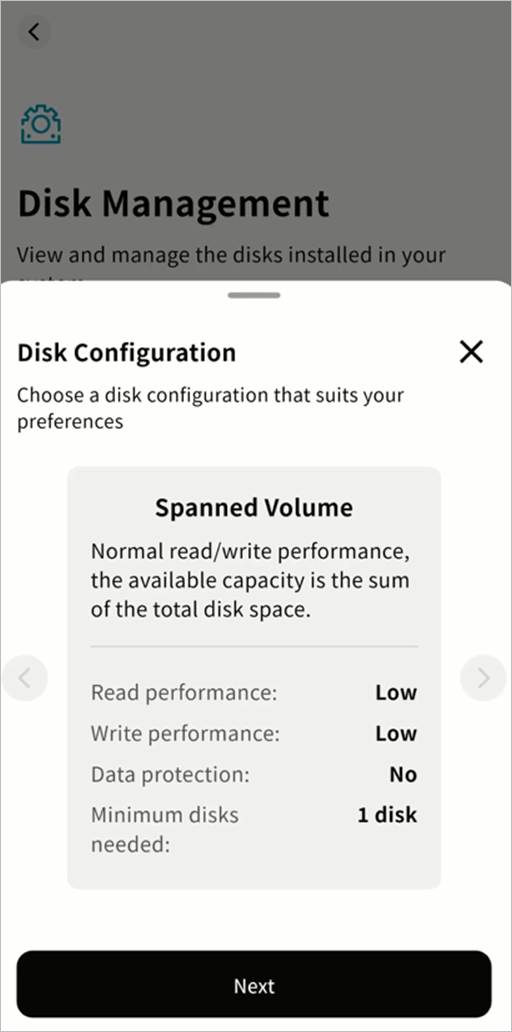
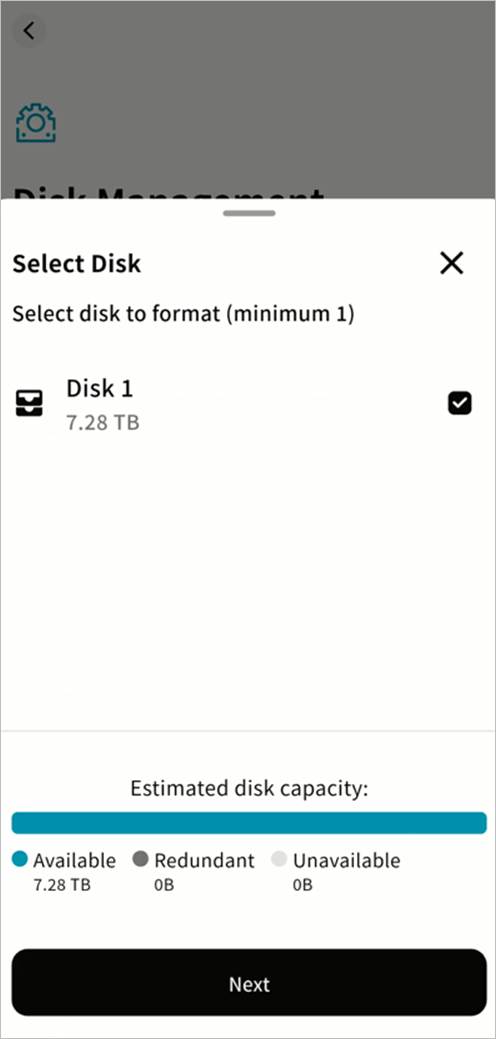
- Choose the hard drives to format and the desired disk format, then click Next. Supported formats include:
- Normal Mode: Basic mode; total usable space equals the sum of all disks, with no redundancy.
- RAID 0: Maximum read/write performance; usable space equals the sum of all disks, with no redundancy.
- RAID 1: Two-disk mirroring; usable space equals the smaller of the two disks, with redundancy protection.
- RAID 5: Requires at least three disks; usable capacity equals the sum of two disks used for data, with redundancy protection.
Note: The estimated capacity is displayed according to the selected format.
- After selecting the disk format, check the hard drives to be formatted. The system will calculate the available capacity after formatting.
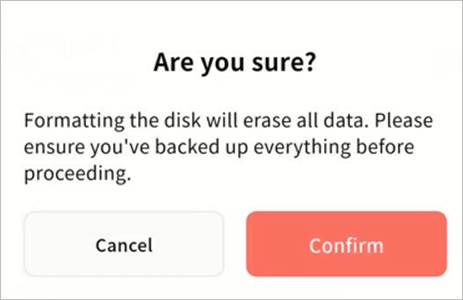
- In the confirmation window, click Confirm. The system will start the formatting process. Please wait until it completes.
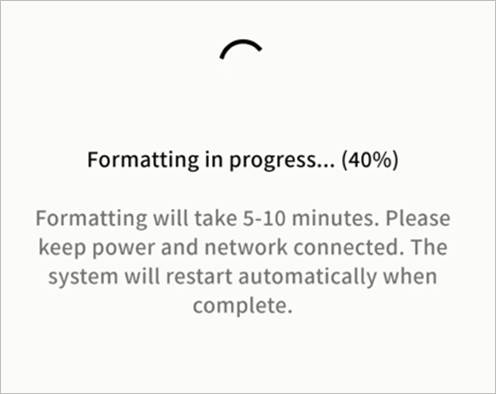
- During formatting, you may return to the device page. The formatting progress will be displayed.
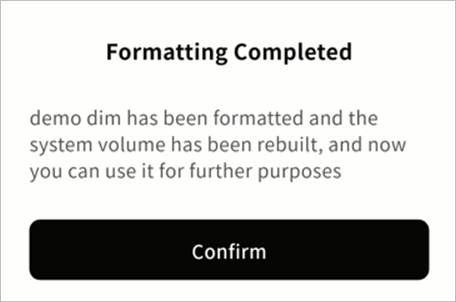
- Once formatting is complete, a notification will appear. Click Confirm and you can begin using your Weline Pro edge device.